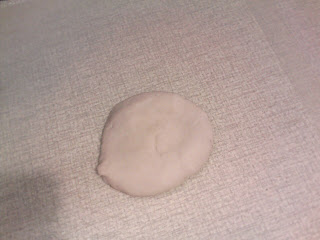
I had these pictures from a while ago that I did and as you can see I'm only now getting around to blogging about it. I try to make most things that we eat - yes, sometimes I go overboard but that is what makes life interesting. There are also times when life is short and you don't want to spend all day in the kitchen. I have my cheat meals as I call them who doesn't? But on the weekends I try to prepare everything I can to control what goes into our food.
This night I made my own flour tortillas. Yes, they come all prepared for you but have you had a look at the ingredients list? They are full of things I cannot pronounce - much less spell! This simple recipe is what I'm sure they should be like. I've come a long way in making these - in that I've at least gotten better at rolling them out and not inventing new swear words when they won't come off the counter! I then had what I call a brain fart - yes, funny. Brain fart = practical idea that should have occurred to me but hadn't because I was so intent on getting done what I was doing in the first place.
I cannot remember where I found this recipe but for me it seems to work and trust me once you have them you'll know why you make them and don't buy them! I admit I still buy the prepared kind but I usually only have one pack handy for week day cooking emergencies. J far prefers the home made kind and once you get over the idea of what the other prepared variety tastes like (rather the same as adjusting to your own home made bread) you'll dream of these!
Flour Tortillas
3 cups of flour (all-purpose)
2 teaspoons baking powder (US kind)
1 teaspoon salt (I cut this to 1/2 as I use sea salt)
1 1/4 cups warm water
2 tablespoons vegetable lard
In a food processor or bowl add the flour, baking powder and salt. Cut or process the vegetable lard into the flour. Once incorporated (you shouldn't see the lard like you do when make pie dough) you can add the warm water to the mixture and mix until it all comes together. It should be a smooth ball of dough - similar to the smoothness that you get when kneading bread. Divide into 8 even portions of dough and allow to rest for 10-15 minutes covered.


Do give them a try - they really are great and so easy to make. Enjoy!
28 December 2010
Flour Tortillas and quick meals...
Subscribe to:
Post Comments (Atom)


0 comments:
Post a Comment